
7 Best Desk Accessories for Productivity & Comfort
If you spend hours at a desk each day, small setup decisions compound into significant physical consequences. Neck tightness, wrist discomfort, eye fatigue, and a cluttered workspace are not inevitable — they are usually the result of a few overlooked ergonomic choices.
This guide walks through the seven most impactful desk accessories for an ergonomic desk setup: what problem each solves, why it matters, and how to choose the right version for your situation. No product hype. No affiliate spin. Just practical, evidence-based guidance for building a workspace that supports you through long working days.
Why Your Desk Setup Matters
Most desk discomfort is not the result of working too hard — it is the result of holding a poor body position for hours without the support or adjustability to correct it. The human body was not designed to sit still for extended periods, and when it does so in a poorly configured workspace, the physical toll accumulates gradually and quietly.
Common problems include forward head posture from a monitor placed too low, which can add significant load to the cervical spine. Shoulder elevation and wrist extension from a keyboard positioned at the wrong height leads to forearm fatigue and, over time, conditions like carpal tunnel syndrome. Eye strain from glare, excessive contrast between a bright screen and a dark room, and insufficient task lighting. And clutter — which triggers a low-level cognitive load that undermines focus throughout the day.
The encouraging reality is that targeted accessories can address each of these problems directly. A monitor arm costs far less than physiotherapy. A desk mat costs less than a cortisone shot. The right desk accessories are not luxuries — they are modest investments in your physical health and long-term productivity.
How to Build an Ergonomic Desk Setup
Before reaching for accessories, it helps to understand the baseline ergonomic principles. Accessories work best when the core setup is already close to correct — otherwise you are adding tools on top of a flawed foundation.
These are the widely accepted positioning guidelines from occupational health resources, including guidance from the Mayo Clinic and workplace safety authorities:
- 1Chair height: Feet should rest flat on the floor (or a footrest) with knees at roughly 90 degrees and thighs parallel to the ground.
- 2Elbow angle: Upper arms should hang close to the body with elbows at 90–100 degrees. Keyboard height should sit just below or at elbow level, with forearms roughly parallel to the floor.
- 3Monitor height: The top of the screen should sit at or just below eye level, with the center of the screen 15–20 degrees below your horizontal line of sight. The screen should be roughly an arm’s length away (50–70 cm).
- 4Wrist position: Keep wrists straight and neutral when typing. Avoid resting wrists on a surface while actively typing — wrist rests are for pauses, not active use.
- 5Foot support: If your chair is too high and cannot be lowered, use a footrest to keep your hips and knees level.
- 6Lighting: Position your monitor perpendicular to windows to minimize glare. Supplement with task lighting that illuminates your desk without reflecting on the screen.
- 7Movement: No setup eliminates the need for movement. Aim to change posture or stand briefly every 30–60 minutes.
“The goal of an ergonomic desk setup is not perfect stillness — it is comfortable adaptability. You should be able to shift positions, adjust your screen, and move freely without fighting your equipment.”
Monitor Arms and Monitor Stands
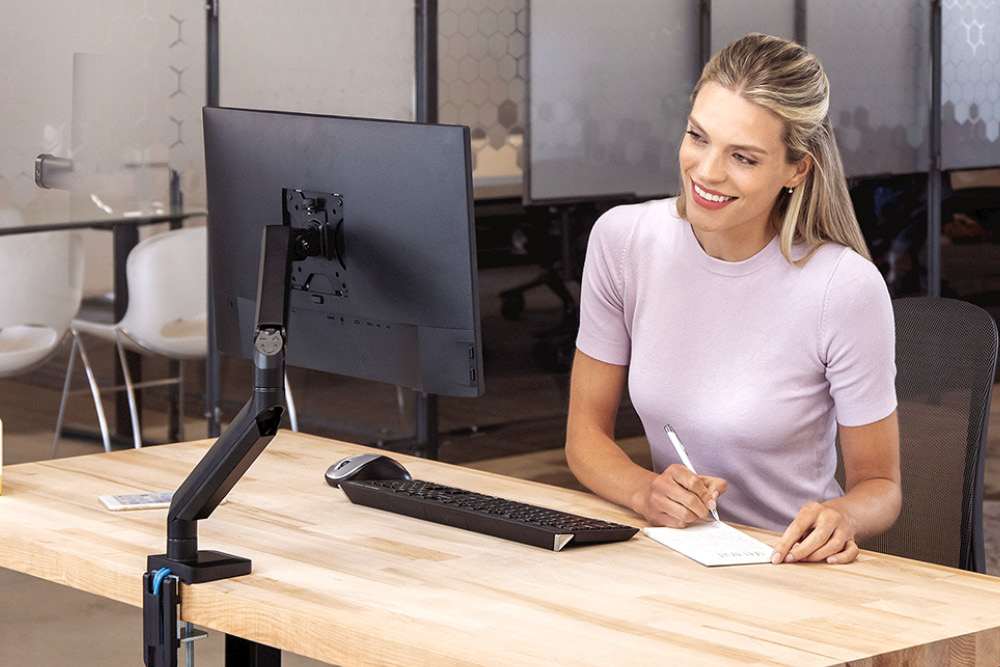
A monitor arm is the single most impactful ergonomic desk accessory for anyone who uses an external monitor. Most monitors ship with fixed-height stands that place the screen too low, forcing you to drop your chin and round your upper back throughout the day. Over time, this forward head position places substantial extra load on the cervical spine and upper shoulders.
A monitor arm clamps to the desk (or mounts through a grommet hole) and lets you position the screen at exactly the right height, depth, and angle for your posture — not the average posture a product designer assumed. You can also swing the screen out of the way when you need desk space, and quickly shift between portrait and landscape orientation.
For a deeper breakdown of setup options, see this ergonomic monitor arm setup guide.
Types of Monitor Arms
Mounts to desk edge via a C-clamp. Works for most desks. Look for a weight rating that matches your monitor (typically 2–9 kg).
Two arms on a single clamp or freestanding base. Keeps both screens at the same height and saves significant desk real estate.
Raises a monitor to a fixed height. Less flexible than an arm but cheaper and simpler. A good option if your desk is already at the right height.
For monitors over 27″ or ultrawide panels. Check VESA compatibility (75×75mm or 100×100mm) and the arm’s weight capacity before buying.
- Position the top of the screen at or just below eye level — this is the single most important adjustment.
- Set the screen about an arm’s length from your face (50–70 cm).
- Tilt the screen slightly back (10–20 degrees) to reduce glare from overhead lighting.
- Check VESA mounting compatibility before purchasing — most monitors support 75×75mm or 100×100mm patterns.
- If your desk has no flat clamp edge, look for a grommet-mount or freestanding base model.
If you are considering specific options for your home office, this guide to the best monitor arm mounts for home office covers a curated range across different budgets and desk types.
Laptop Stands, Risers, and Docking Accessories
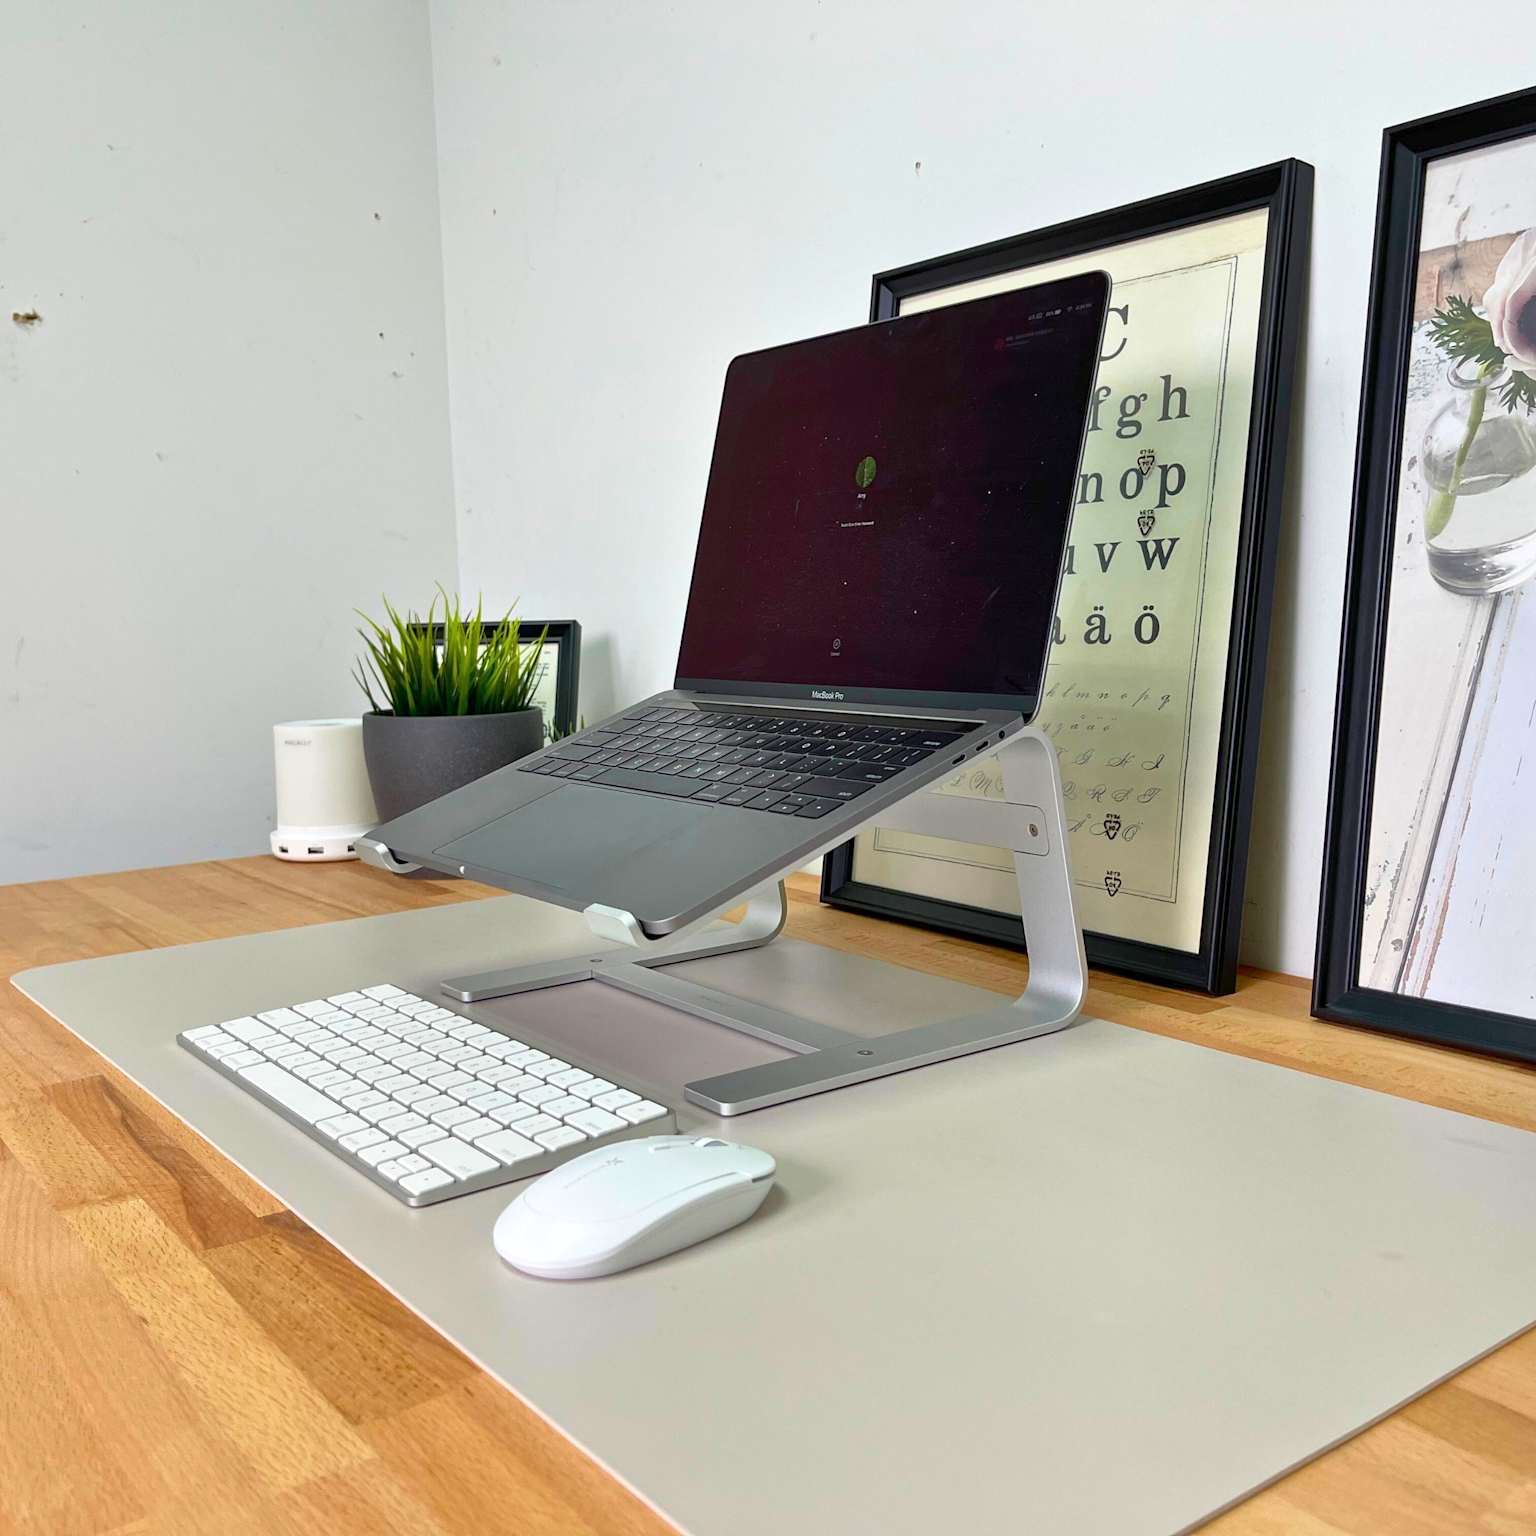
A laptop in its natural position — screen and keyboard connected as one unit, resting flat on a desk — creates an immediate ergonomic conflict. If you lower the keyboard to a comfortable typing height, the screen sits far below eye level, forcing you to hunch forward. If you raise the screen to eye level, the keyboard is too high for relaxed typing. You cannot solve both problems with a laptop alone.
The solution is to separate the input from the display. A laptop stand or riser raises the screen to eye level. A separate external keyboard and mouse sit at the correct ergonomic height for your arms. This configuration is strongly recommended by occupational health guidelines, including guidance from Queensland’s WorkSafe authority, for anyone working at a laptop for extended periods.
Choosing a Laptop Stand
- Adjustable-height stands offer the most flexibility and are ideal if you share a desk or switch between sitting and standing.
- Fixed-angle risers (aluminium or bamboo) are compact, stable, and work well if you already have a keyboard tray or well-positioned desk.
- Docking stations go further — they connect power, display outputs, USB peripherals, and audio through a single cable, reducing daily cable management friction significantly.
- Portable folding stands are useful for travel but often lack the stability needed for a full workday at home.
A laptop stand alone is not enough — it must be paired with an external keyboard and mouse. Without separate input devices, raising the laptop only creates a new problem (keyboard too high). Treat these three as a bundled upgrade rather than individual purchases.
Ergonomic Keyboards, Mice, and Input Devices
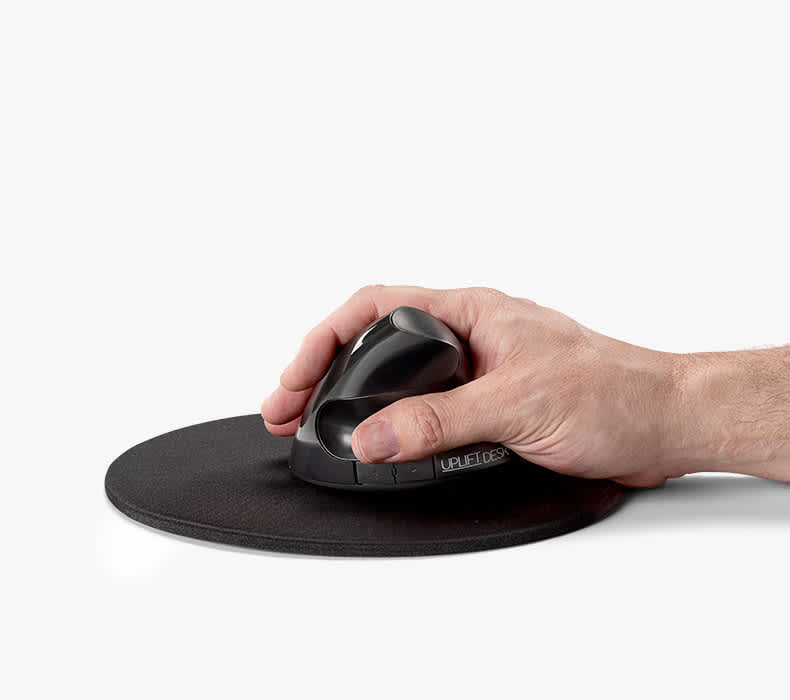
Standard keyboards and mice are designed to be inexpensive and compact, not ergonomic. A flat keyboard forces mild but constant wrist extension. A traditional mouse requires forearm pronation — rotating the palm to face down — which creates tension in the forearm muscles over long sessions. For light, occasional use, these are not serious concerns. For daily multi-hour use, they are worth addressing.
Ergonomic input devices aim to reduce this strain by promoting more natural positioning. The evidence supports modest benefits for people who already experience discomfort, and a preventative effect for those who do not yet. A 2015 study published on PubMed found that angled and vertical mouse designs reduced forearm pronation compared to traditional flat mice without negatively affecting pointing performance.
Keyboard Options
A slim keyboard with minimal key travel reduces wrist extension. Not ergonomic in the strict sense, but better than a tall membrane keyboard with a significant slope.
The keyboard splits into two halves (sometimes with a fixed gap, sometimes fully separated) so each hand types at a natural angle. Reduces ulnar deviation — the inward wrist bend common with standard keyboards.
Raises the center of the keyboard so both halves slope outward, putting the wrists in a more neutral, handshake-like position. A good middle ground between flat and fully split.
Removes the number pad, allowing the mouse to sit closer to the keyboard. This reduces how far right you reach for the mouse — a significant factor in shoulder and arm fatigue.
Mouse Options
A vertical mouse holds the hand in a handshake position — palm facing sideways rather than down. This eliminates most forearm pronation. It takes a few days to adapt, and some users find precision is slightly reduced initially, but comfort benefits for long-term users are well-reported. Look for a model sized to your hand and tested for grip style (palm, claw, or fingertip grip).
A trackball mouse keeps the hand still and moves the pointer by rotating a ball with the thumb or fingers, virtually eliminating repetitive arm movement. These have a steeper learning curve but are popular among users with existing wrist or shoulder conditions.
For most people without existing strain, a well-positioned standard mouse at the right height is sufficient. Ergonomic upgrades are most valuable for those logging more than 5–6 hours of daily computer use.
- Keep mouse and keyboard at the same height and as close together as possible.
- A tenkeyless keyboard is one of the simplest, cheapest ways to reduce reaching distance to your mouse.
- If you experience tingling, numbness, or persistent wrist pain, consult a healthcare professional — ergonomic accessories can help but are not a substitute for medical assessment.
- Wireless keyboards and mice reduce cable clutter and allow more flexible positioning.
Desk Mats, Wrist Rests, and Surface Accessories
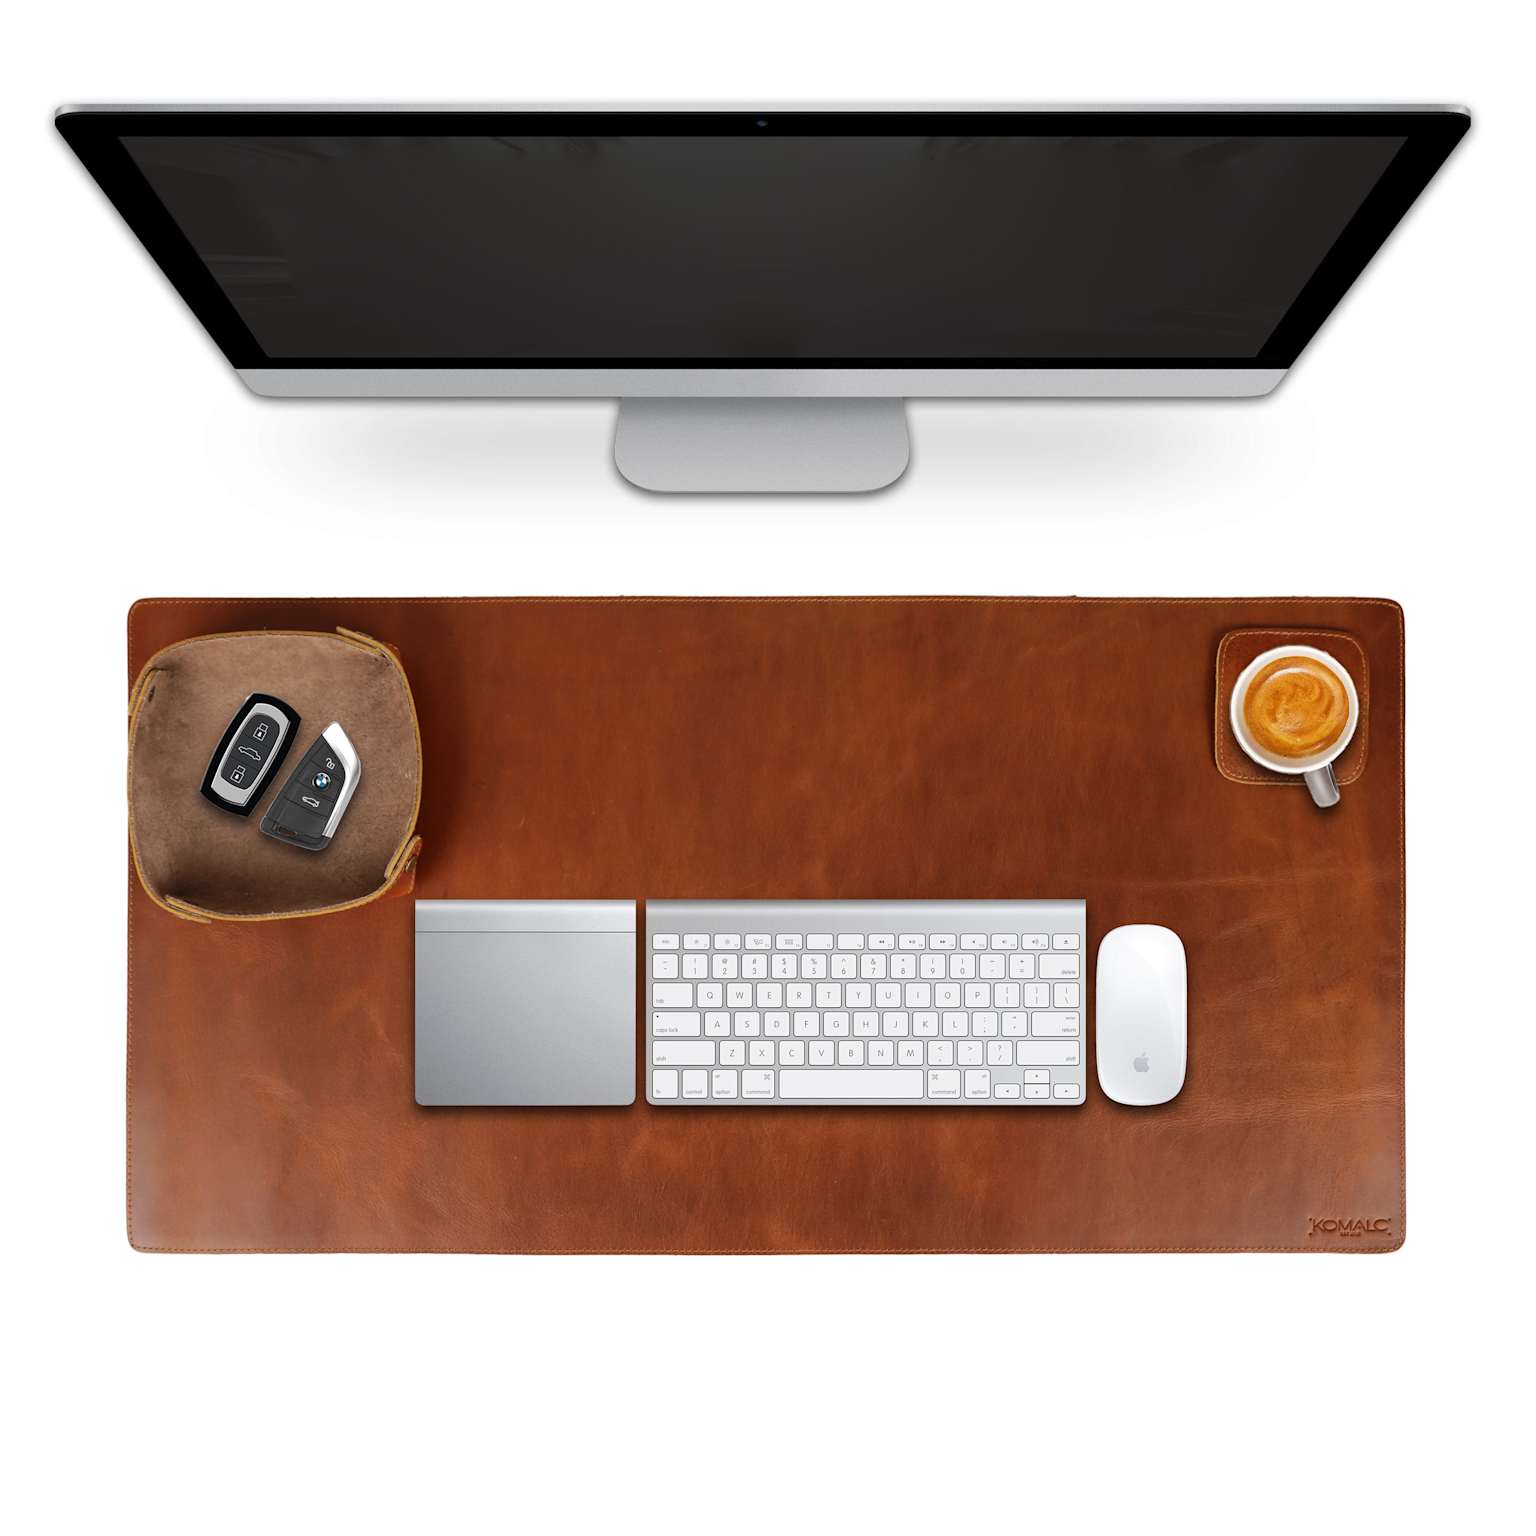
A desk mat — also called a desk pad — is a large surface covering that runs beneath your keyboard, mouse, and writing area. It does several useful things at once: it protects the desk surface from scratches and spills, gives the mouse a consistent tracking surface, cushions the forearms during typing breaks, and creates a visual boundary that makes the workspace feel intentional and organized.
Extended desk mats (typically 800mm–1200mm wide) have become popular precisely because they provide a unified surface for the entire input area. Leather desk mats and extended PU mats are durable, easy to clean, and add a sense of finish to the workspace. For a curated review of leather options, see this guide on the best leather desk mats.
Wrist Rests — When They Help and When They Do Not
Wrist rests are widely misused. The key point to understand: a wrist rest is intended for use during pauses in typing, not while actively typing or moving the mouse. Pressing the soft tissues of the wrist against a hard or firm surface while typing increases pressure on the carpal tunnel and can worsen the very conditions you are trying to prevent.
Used correctly — as a place to briefly rest your hands between typing bursts — a soft foam or gel wrist rest can reduce fatigue. Memory foam is generally preferable to gel for wrist support. Keep wrists floating free during active typing.
If you are using a standing desk, an anti-fatigue mat becomes relevant — that falls under optional accessories below.
Cable Management and Under-Desk Storage
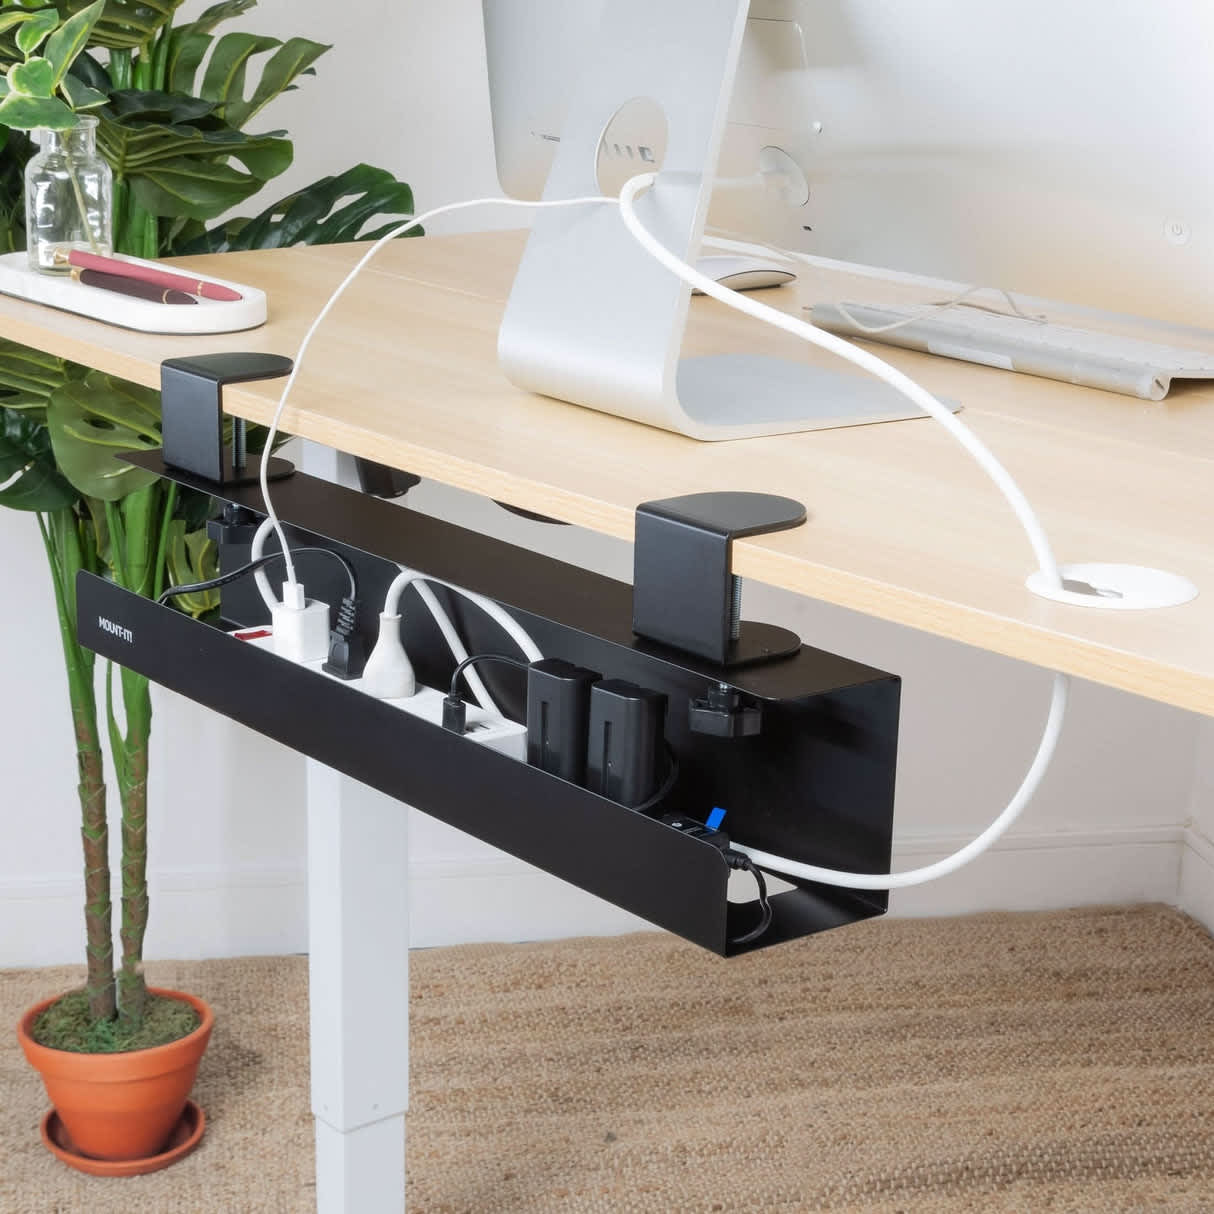
Tangled cables are not just aesthetically unpleasant — they represent a form of low-grade, persistent visual noise that interferes with focus. Research into workspace organization consistently links cluttered environments to reduced concentration and increased stress. Cables draped across the desk and pooled on the floor also create trip hazards and make it harder to clean the workspace.
Cable management is one of the highest-return, lowest-cost ergonomic workspace improvements available. Most of the tools involved are inexpensive, and the effect on the workspace is immediate and significant.
Cable Management Tools
Mounts beneath the desk via clamps or screws. Houses a power strip and routes all cables in a single contained run. Most impactful single purchase for cable organization.
Route individual cables along the desk edge, monitor arm, or wall. Inexpensive, reversible, and useful for the last few inches of a cable run where a tray cannot reach.
Group multiple cables into a single clean bundle. Velcro ties are easier to adjust than zip ties and less likely to damage cables over time.
A closed box that hides a power strip and all associated cables on the desk or floor. Useful when an under-desk tray is not an option (e.g., glass desks).
- 1Mount an under-desk cable tray and place your power strip inside it.
- 2Route all device cables down the desk leg or monitor arm to the tray.
- 3Use adhesive clips to keep the final desk-surface cable runs tidy.
- 4Label cables at both ends — this saves significant time during future changes.
Desk Lighting, Monitor Light Bars, and Visual Comfort
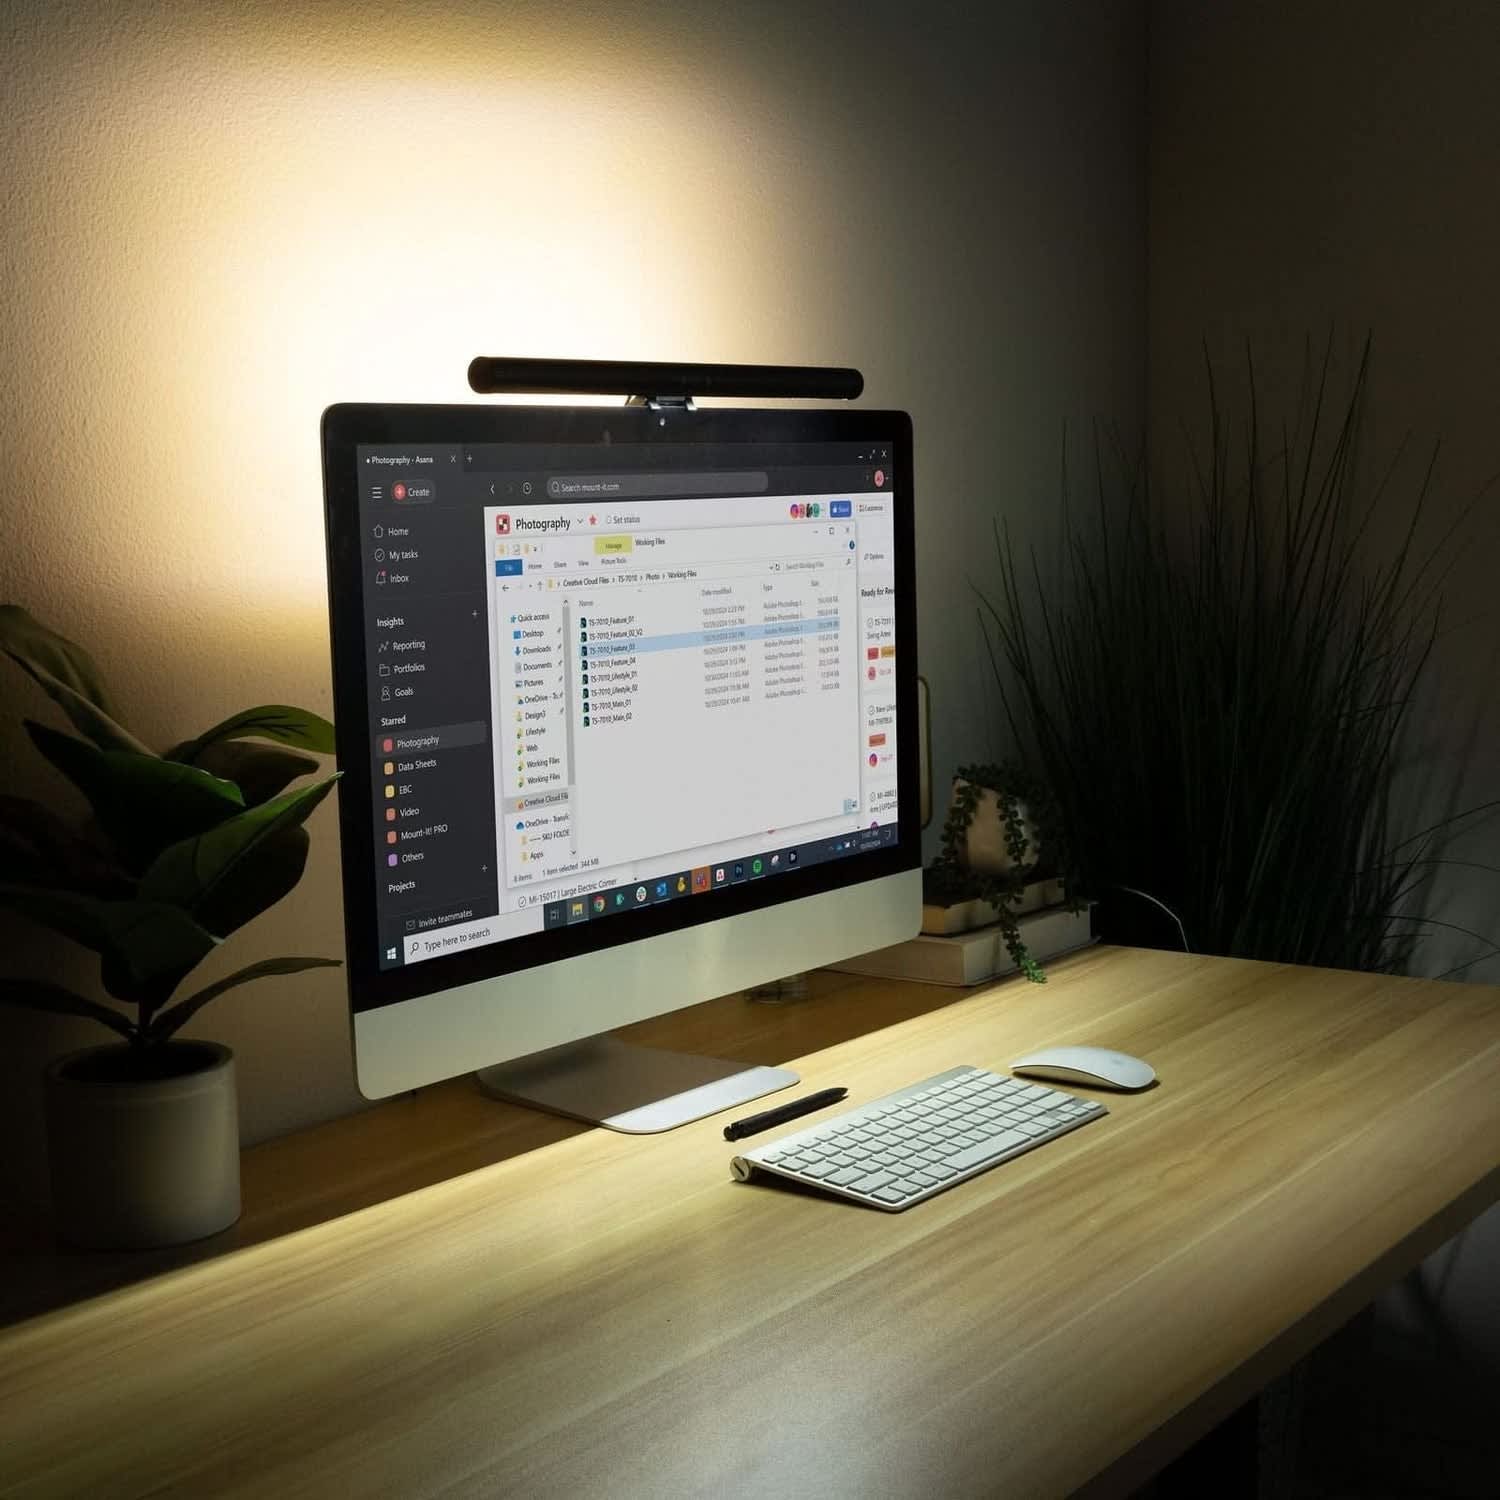
Eye fatigue from screen work is most commonly caused by two things: excessive contrast between a bright monitor and a dark room, and glare — reflections from windows or poorly positioned lights hitting the screen. Your eyes are constantly adjusting between these competing brightness levels, which is tiring even when you do not consciously notice it.
The solution is balanced ambient and task lighting. The room should not be completely dark when you are using a bright screen, and your task lighting should illuminate your work surface without creating reflections on the monitor.
Monitor Light Bar vs. Desk Lamp
A monitor light bar clips to the top edge of your monitor and directs light downward onto the desk using asymmetric optics — specifically designed to avoid reflecting onto the screen. It saves desk space, cannot cast glare on your display, and provides clean task illumination for reading documents, writing notes, and working with physical materials.
A desk lamp offers more flexibility in direction and spread of light and is better suited for reading, drawing, or any task where you need to illuminate a broader area than just the desk surface. A good quality task lamp with adjustable color temperature (warm in the evening, cooler during the day) adds meaningful comfort over long sessions. Position it to the side of your dominant hand, angled to avoid reflections on the screen.
Both have a place. For screen-centered desk work, a monitor light bar is usually the more practical choice. For a broader workspace that includes physical document work, a quality task lamp is worth having.
- Position your monitor perpendicular to windows — neither facing them nor with your back to them — to minimize glare and silhouette effects.
- For daytime work, 4000–5000K color temperature (neutral white) is generally comfortable. Drop to 2700–3000K in the evening to reduce blue light.
- Match your screen brightness to the ambient light level — a screen that is noticeably brighter or dimmer than the room causes unnecessary eye adjustment.
- Apply the 20-20-20 rule: every 20 minutes, look at something 20 feet away for 20 seconds. This is a simple and evidence-supported way to reduce cumulative eye fatigue.
Desk Organizers, Shelving, and Small Storage
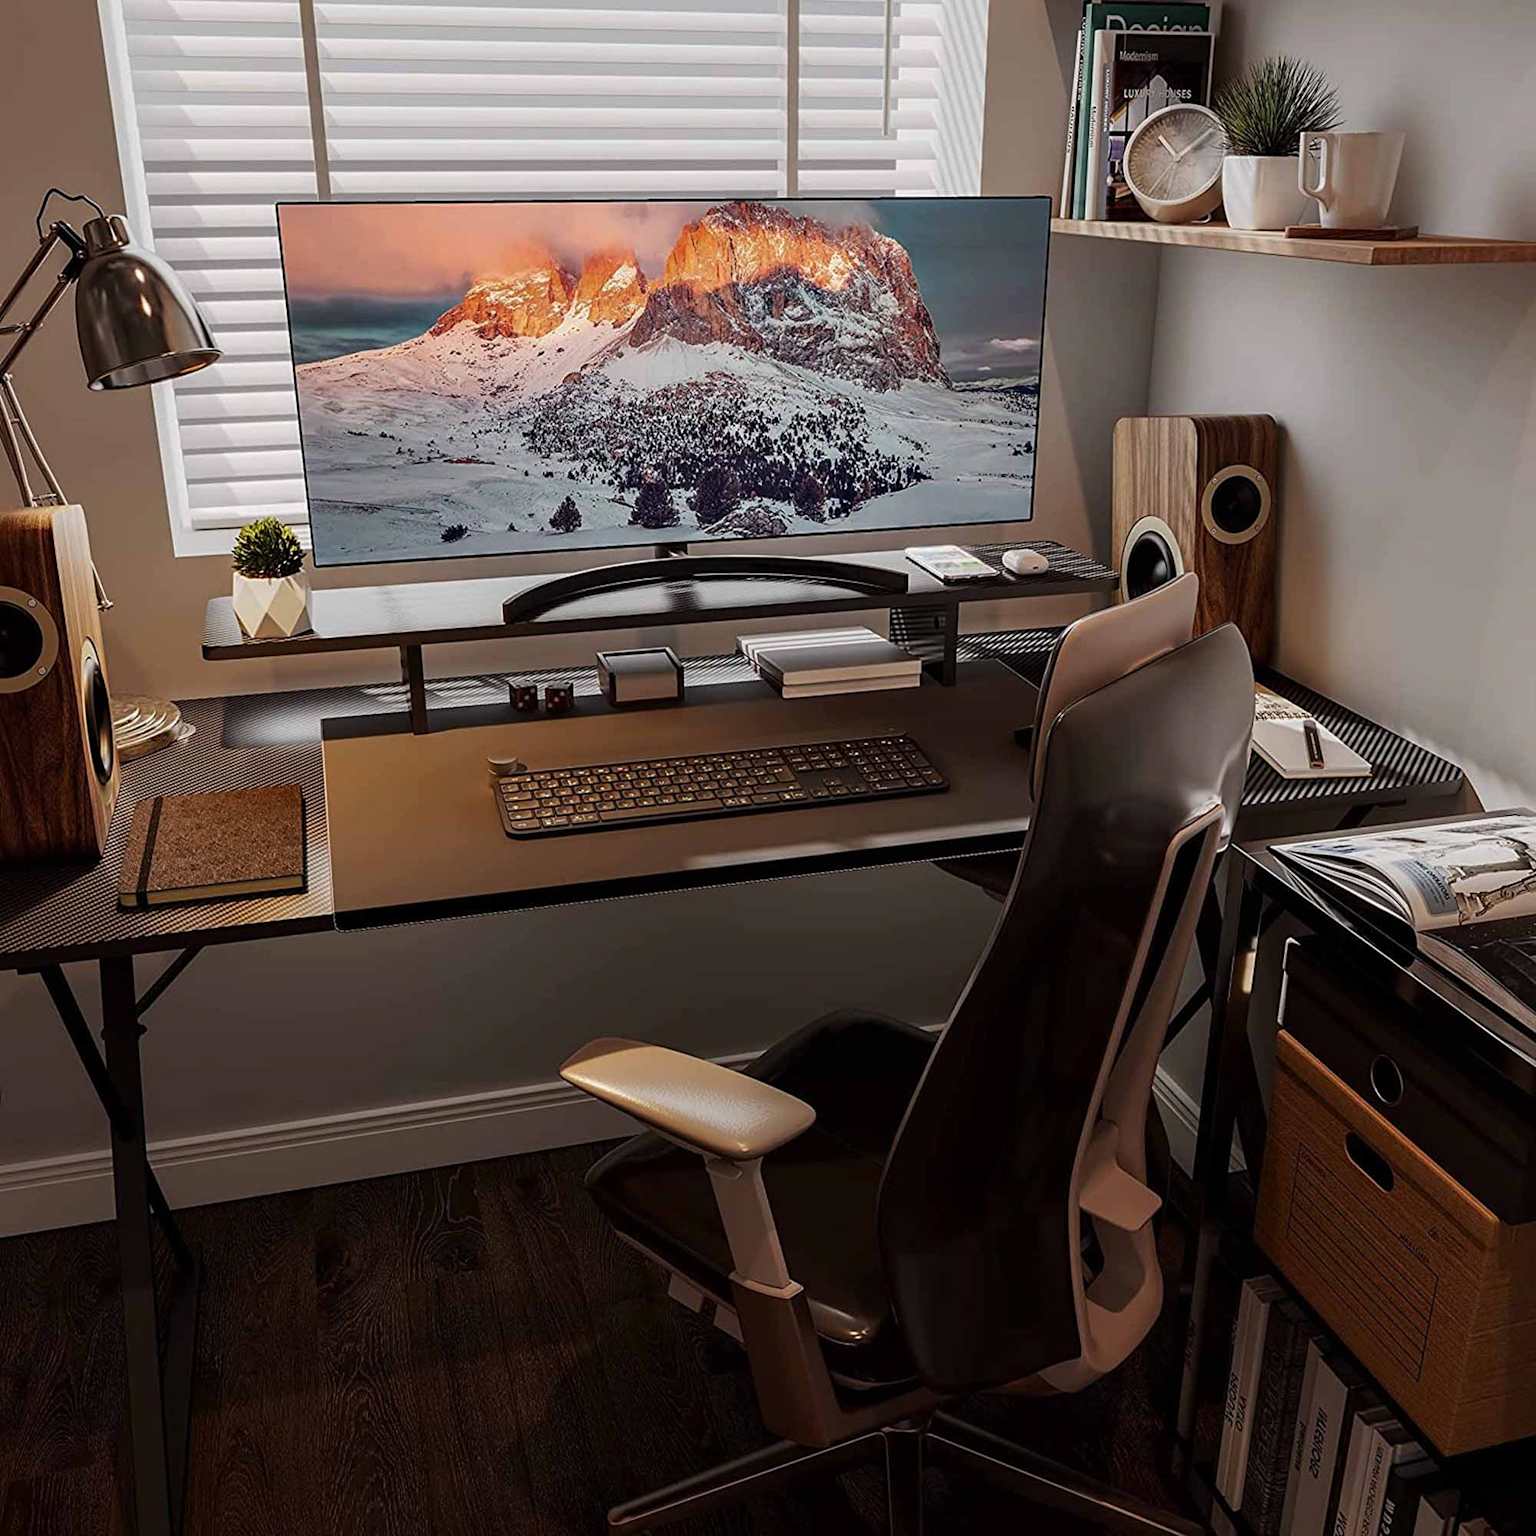
Visual clutter on a desk is more taxing than it appears. Every object within your field of vision is a low-level prompt for your attention — a pen, a stack of papers, a charger coiled beside the keyboard. None of these individually is a problem, but collectively they create a background cognitive load that affects concentration. Reducing visible clutter is one of the cheapest, most effective ways to improve focus.
The guiding principle for desk organization is simple: keep only what you use daily on the desk surface. Everything else — stationery you reach for weekly, reference materials, personal items — belongs in a drawer, a shelf above or below the desk, or an under-desk storage unit.
What Belongs on the Desk vs. Off It
Monitor, keyboard, mouse, desk mat, notebook, one pen, your water bottle. If you use something at least once a day, it earns desk space.
Charging cables for devices you do not use daily, extra stationery, reference books, documents, headphones (unless daily). Give these a drawer or shelf.
A compact desk organizer consolidates pens, scissors, and small accessories into one vertical unit. Choose one with only the compartments you actually need.
Under-desk drawers, pedestals, or rolling cabinets dramatically expand usable storage without taking up desk space. Ideal for home offices with limited room.
For workspace organization ideas that go beyond individual accessories and address the whole setup, these workspace ideas cover a range of practical configurations for different room sizes and working styles.
Optional Accessories Worth Knowing About
These accessories are not universally necessary, but each addresses a specific, real need. Consider them once the core seven are in place.
Useful if your chair cannot lower far enough to keep feet flat on the floor. Also helpful for shorter users on standard-height desks.
For standing desk users. A cushioned mat encourages subtle weight shifting and reduces leg fatigue during prolonged standing. Not needed for seated work.
Consolidates multiple peripherals into a single cable to the computer. Reduces cable clutter significantly for users with multiple devices. Especially valuable for laptops with limited ports.
Keeps headphones off the desk surface and accessible. Small, inexpensive, and removes one persistent item from desk clutter.
Adhesive or screw-mounted hooks for hanging bags, headphones, or cable loops under the desk. Excellent value for desk space recovered per dollar spent.
A modest desk plant introduces a natural focal point that relieves visual fatigue from sustained screen use. Keep it small — it should complement the space, not compete with it.
If you use a sit-stand desk, the ergonomic rules still apply in standing position — monitor at eye level, elbows at 90°. Consider a monitor arm with a wide vertical range. More detail at this standing desk accessories guide.
Raises a monitor to a basic ergonomic height while providing a shelf for peripherals or a drawer underneath. A budget-friendly alternative to a monitor arm for users who do not need full adjustability.
How to Choose the Right Desk Accessories for Your Needs
The most common mistake is buying desk accessories for aesthetics before addressing ergonomics. A beautiful desk that causes neck pain is a failure. Start with the accessories that address your most pressing physical pain point, then add organization and aesthetics afterward.
| If your main issue is… | Start with | Priority |
|---|---|---|
| Neck or upper back pain | Monitor arm or stand to raise screen to eye level | High |
| Working exclusively on a laptop | Laptop stand + external keyboard and mouse | High |
| Wrist or forearm discomfort | Ergonomic mouse (or vertical mouse) + desk mat | High |
| Eye strain or headaches after screen work | Monitor light bar + check room lighting and screen brightness | Medium |
| Cable tangle and visual clutter | Under-desk cable tray + cable clips | Medium |
| Disorganized desk surface | Desk organizer + under-desk storage or shelf | Medium |
| Leg fatigue when standing | Anti-fatigue mat | Optional |
| Feet not reaching the floor | Footrest | Optional |
Budget Considerations
If budget is limited, the sequence above largely holds. A monitor arm or laptop stand paired with external peripherals provides the most ergonomic return per pound or dollar spent. Desk mats and cable management tools are inexpensive and high-impact. A quality monitor light bar in the mid-range is more useful than a premium desk organizer.
Avoid the trap of buying a large number of low-quality accessories. One well-chosen, durable monitor arm will outlast three cheap alternatives and hold its adjustment far better over time. For space-constrained desks, prioritize vertical solutions — wall-mounted shelves, under-desk storage, and arms that free up the desk surface.
Common Mistakes People Make
A crowded desk with 12 accessories is not an ergonomic setup. Fewer, better-chosen items deliver more value. Every additional object on the desk is one more thing competing for visual attention.
A monitor stand that looks great but does not raise the screen to eye level is the wrong choice. Always verify that the accessory solves the physical problem before considering how it looks.
The most common and costly mistake. A screen that is too low causes forward head posture. The top of the screen should sit at or slightly below eye level when you are seated in normal working position.
Working from a laptop flat on a desk for long sessions is one of the worst ergonomic configurations possible. A stand and external keyboard and mouse are not optional for daily, extended laptop use.
Items that are used occasionally do not belong on the desk surface. A cluttered desk reduces usable workspace, pushes input devices into awkward positions, and creates the visual noise that hampers focus.
Working with a bright screen in an otherwise dark room, or with a window directly behind the monitor creating glare, causes eye fatigue that is easily prevented. Lighting is consistently undervalued in desk setup guides.
Frequently Asked Questions
If you are building a home office ergonomic desk setup from scratch, prioritize in this order: (1) a monitor arm or stand to raise the screen to eye level, (2) a laptop stand with external keyboard and mouse if you are working from a laptop, (3) a quality desk mat for the input area, and (4) cable management. These four address the most common sources of desk-related discomfort and have the highest impact on daily usability. Add a monitor light bar and desk organizer once the foundation is in place.
Start with your chair — adjust it so your feet rest flat on the floor with knees at 90 degrees and your lower back supported. Set your keyboard and mouse at elbow height with elbows at 90–100 degrees. Raise your monitor so the top of the screen is at or just below eye level, roughly an arm’s length away. Add task lighting that illuminates your desk without creating glare on the screen. Finally, remove everything from your desk that you do not use daily. These steps alone solve the majority of common desk discomfort issues.
For most people with a fixed external monitor, yes — monitor arms are worth it. The average fixed monitor stand does not provide enough height range to position the screen correctly for your specific chair height and posture. A monitor arm also frees up the desk surface beneath the monitor, reclaiming useful workspace. The main caveat is that they require a desk with an edge thick enough to clamp (most standard desks work fine) and a VESA-compatible monitor. If your monitor already sits at eye level on its existing stand, a monitor riser may be sufficient instead of a full arm.
For neck pain, the most important accessory is a monitor arm or stand that raises the screen to eye level. A low monitor is the single most common cause of forward head posture and upper back tension at a desk. For lower back pain, the foundation is a properly adjusted chair — accessories layer on top of that. A laptop stand with an external keyboard and mouse is critical for laptop users specifically. If you experience persistent or significant pain, a physiotherapist or occupational health professional can provide a proper assessment; accessories support good posture but are not a substitute for professional advice when pain is ongoing.
Remote workers using laptops should prioritize a laptop stand, external keyboard and mouse, and a monitor light bar above all else — these address the three most common remote work problems (poor posture, wrist strain, and eye fatigue from inadequate lighting in home environments). A good cable management solution also matters more at home than in a corporate office, since home desks tend to accumulate cables from personal and work devices. A quality desk mat ties the input area together and provides comfort during long sessions. Beyond these, a USB hub or docking station dramatically simplifies daily connection and disconnection from peripherals.
A mouse pad is a small dedicated surface (typically 200–300mm wide) designed primarily for mouse tracking. A desk mat is a large format surface (often 800–1200mm wide or more) that covers the entire keyboard and mouse area, extends under writing materials, and protects the desk surface. Extended desk mats are preferable for most home office setups because they provide a consistent surface across the full input area, cushion the forearms during typing pauses, and give the workspace a more organized, unified appearance. Unless desk space is very limited, a full desk mat is generally the better choice over a separate small mouse pad.
Final Takeaway
An ergonomic desk setup does not require a complete overhaul or a large budget. The most impactful changes are usually the simplest: raise your monitor to eye level, bring your input devices to the correct height, and clear the cables and clutter that make the workspace harder to focus in.
Start with the accessory that addresses your most pressing physical pain point — neck discomfort almost always points to monitor height; wrist strain usually points to mouse position or keyboard angle; eye fatigue points to lighting. Solve the real problem first, then build from there.
Most people find that three or four well-chosen accessories transform their daily comfort and focus more than a full desk redesign would. Buy fewer things. Choose them deliberately. Set them up correctly. That is the entire formula.